How to Cut Metal Fence Panels

Metal panel fences, whether you’re talking about palisade fence, ornamental fence, bar fence, welded mesh fence or something else, is a very popular choice.
This kind of fencing is used as residential fencing, commercial fencing and even high-security fencing, depending on the specification and type of fence. However, one of the most common challenges faced when installing metal fence panels is how to deal with shorter panels at ends, corners and other junctions. Here’s a quick and comprehensive guide to how to cut metal fence panels to fit the awkward spaces on your fence.
What You Need to Cut Metal Fence Panels On Site
The first thing we should mention is that we’re basing this article on the assumption that you’re going to be cutting metal fence panels on-site. If you have a metal shop at your disposal, things are quite different (and a little easier!)
Assuming you are cutting your metal fence panels on-site, here’s a list of items you will need to get the job done:
- A tape measure
- The fittings you will use to attach the panels
- A China marker, scribing tool or similar to mark where panels will be cut
- Both posts, which should be installed in concrete and set
- A power drill
- HSS bits of the correct size for your fence bolts
- An angle grinder or cut off or chop saw
- Cutting disks
- Eye protection and work gloves
- A workbench and or clamps (or someone to assist) to ensure that the panels don’t move while cutting
- Zinc spray and touch up paint to spray and treat the cut and drilled areas
Once you’ve got all your equipment together, it’s time to start the measuring and cutting process.
Measuring Fence Panels Before You Cut
There’s an old saying among tradespeople out there – measure twice, cut once. That’s completely true when it comes to cutting metal fence panels.
You might assume that your fence panels will be the same at the top and bottom, but the truth is, that’s not always the case. As you can see in the diagram below, if your fence line is just a little sloped, and you’re tying into a post that is not, it could have different dimensions at the top and bottom.

This is why it’s so important to measure the top and bottom of every panel, so you know exactly what you’re dealing with. Here’s a good step-by-step procedure for getting accurate measurements.
- Temporarily attach and tighten your fence brackets onto the posts on both sides. This will allow you to not only measure the lengths between the posts at the right height but also to take into account the position of the predrilled or slotted holes in the brackets.
- Measure the distance at both points and write them down.
You might think you’re done now, but there’s another step you need to take.
Usually, metal fence panels will have infills, pickets or pales that are spaced at a particular distance. Sometimes, if you’re very unlucky, the shorter spaces on your fence that you need to cut panels for are just the right size to make the cut side fall right on one of those vertical elements. You could cut that piece out; however, that will leave a larger gap on that side, and that will immediately look wrong and might compromise the security of the fence.
If your panel does happen to fall into this category, you will need to cut both sides equally so that there are even spaces on both sides of the panel. In this case, you would measure from the center of the panel (assuming there's an infill or picket there, or from the picket closest to the center), using half of your dimensions in each direction, and that will be the place you will cut your panel.
Your Cut Panel Key
If you have a fence project that’s like most jobs, you’re going to have more than one cut panel. In fact, you’ll probably have one on each fence line.
Instead of cutting each one, installing it and then repeating it, you can take all your measurements and cut and drill your panels all at once.
Simply create a line drawing of your site, and number each spot where you will be installing a cut panel. Write down the measurements for each numbered panel, and then cut accordingly. When you’re finished with all your cutting, all you’ll need to do is match up the right panel with the right space.
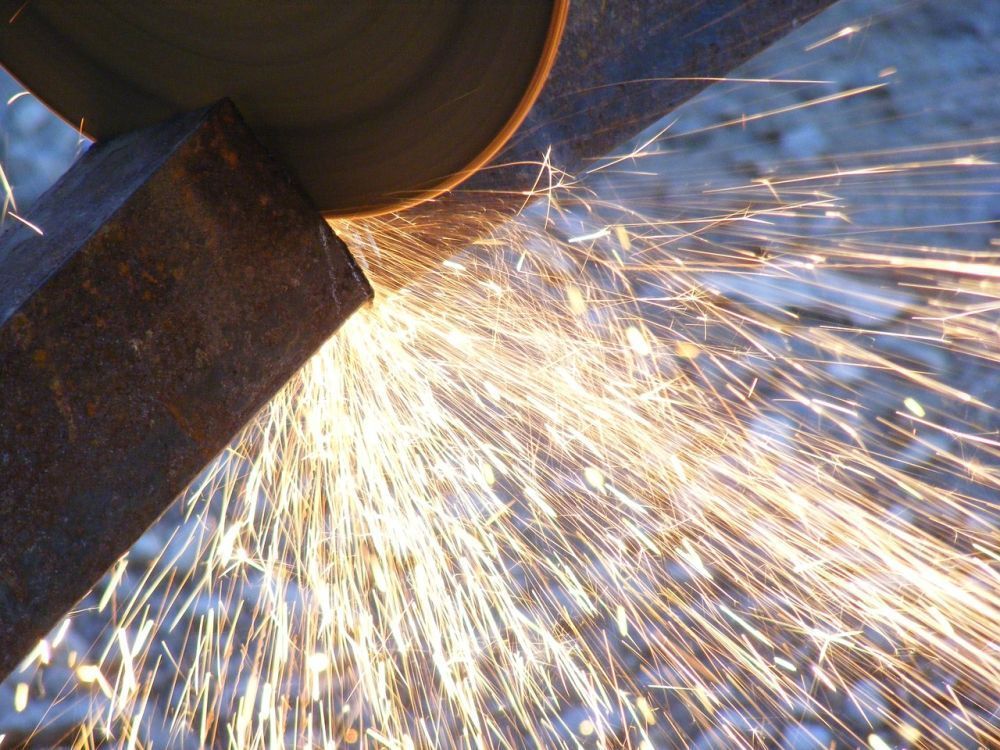
Cutting Metal Fence Panels
The last step in the process of cutting metal fence panels on site is the actual cutting.
At this point, you will have measured twice, viewed the panels in place, and made adjustments as necessary to ensure your spacing looks correct and will work.
Cutting the panels is actually the easiest part of the job because the tools will do most of the work!
- Place your panels on a safe surface, like a table or workbench, and clamp them in place. Avoid cutting onto paving, decks or other things on site because there’s a good chance your grinder will continue to cut once you’re through the panel, and you’ll damage those surfaces too.
- Double-check your measurements, and then start cutting, trying to keep the disk as close to vertical as possible. This will give you an even, square cut. You could also use a cut-off saw or similar if that’s easier for you to manage.
- Once your panels are cut, place them into the gap again over the brackets or fittings. If everything fits, measure the distance from the edge of your cut panel to the hole in the bracket or fitting, and mark it for drilling.
- Drill holes as straight as possible. If you have a drill press, this can also work to ensure your holes are drilled as precisely as possible.
- Read the directions on the zinc spray and touch up paint cans, and then touch up the cut and drilled edges of the paint and allow the paint to dry.
You can use stickers or China markers to number your panels if you’ve marked them that way on your fence drawing.
Not Difficult, But Take Your Time
As you can see from this article, the process of measuring and cutting metal fence panels on-site is not very difficult as long as you are reasonably handy. However, this is not something you want to rush.
Make sure you check every measurement, write them down carefully and measure every cut carefully before you break out the grinder or cut-off saw.
Metal fence panels tend to be fairly costly, and sometimes, when you cut them wrong, you can’t use them elsewhere on the job. So you could cost yourself some money if you rush this.
