How to Install Tension Wire on Existing Chain Link Fence

If you’ve got an existing chain link fence that is loose or curling up at the bottom, chances are, your tension wire is loose or damaged.
The good news is that it’s not that hard to install tension wire on existing chain link fence. Here’s how you can make this simple fix to your chain link fence to increase its lifespan.
Gather Your Supplies
The first thing you are going to need to do when you are installing tension wire on an existing chain link fence is to get all the tools, supplies, and equipment you will need together. Fortunately, you won’t need too much for this job.
|
First, get yourself a good pair of fence pliers. These make it much easier to cut, twist, and pull fence wire. Then, buy some galvanized or PVC-coated tension wire for your fence. For most residential chain link fences, you will need to get 9-gauge wire. This is strong and thick enough to last, even under tension. Finally, buy some hog rings and hog ring pliers so that you can attach your mesh to your new tension wire. A good pair of leather safety gloves and safety glasses are never a bad idea when you are working with fencing and wire, either. Cuts, scrapes, and eye injuries can happen very easily, and they can be quite serious. |
||
Remove Your Old Tension Wire
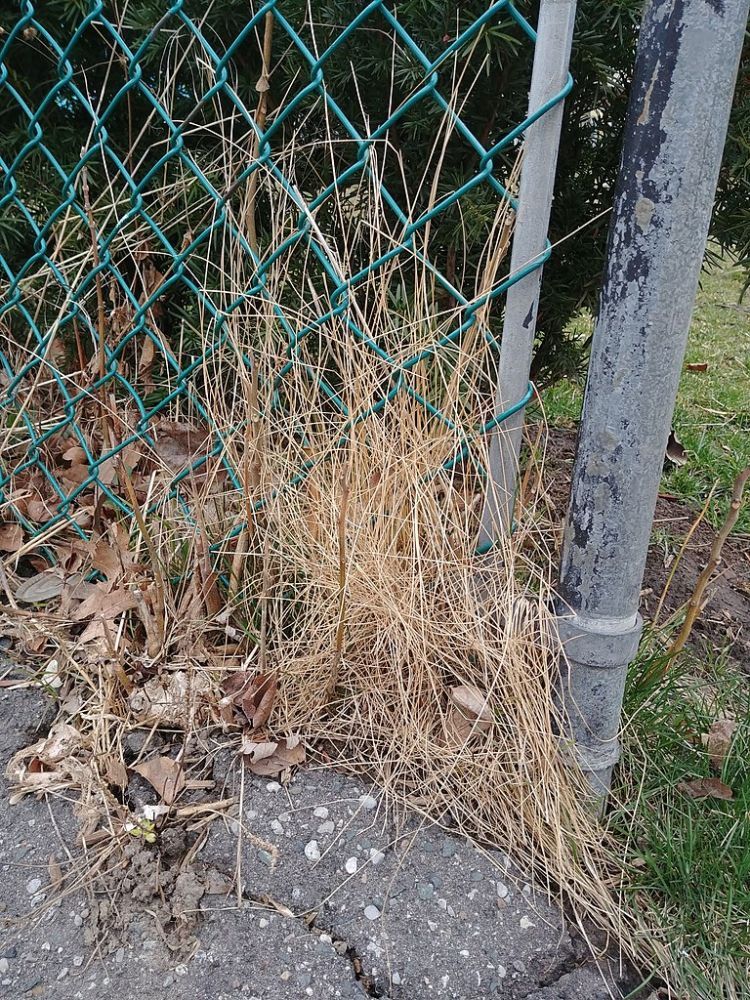
If you’re wondering how to install tension wire on an existing chain link fence, you’ve probably got an existing tension wire that has failed. If you’ve got grass like the picture above on your fence line, you’ll need to trim that to take a proper look.
Most chain link fences that don’t have bottom rails will have a bottom wire so that there is something to attach your chain link mesh to. You’ll want to remove this before you install your new wire.
The easiest way to do this is usually to go to the terminal or tension posts on your fence. Those are the ends, gates, and corner posts. This is where your tension wire will be attached to the fence posts, and you can use your fence pliers to cut the wire. Then, simply follow the wire along your fence, untwisting hog rings or wire ties as you go, to remove the old tension wire from your fence.
If your chain link fence’s bottom tension wire has simply snapped and it’s still in good shape, you could roll the wire up and use it for future repairs. However, if it’s broken or rusted, the best thing to do is get rid of it. Find out if your local dump accepts metal or take it to a metal recycler.
Install Your New Chain Link Fence Tension Wire
Now that your old fence wire is removed, the next step in installing tension wire on the existing chain link fence is to install the new wire. This is fairly simple, and you can follow these steps:
|
Repeat the process on any other fence lines that need this repair.
Most chain link fences should have a tension post every couple of hundred feet, so even on longer fence lines, you shouldn’t have to replace too much wire at once.
If you are looking for ways to make future tension wire maintenance easier, you might consider installing a wire tensioner when you replace your fence wires. These have a ratchet mechanism, so all you have to do to tighten up your fence wires is turning the ratchet once or twice.
Why Do Chain Link Fence Tension Wires Wear Out?
You might be wondering why, on a fence that should last twenty years or more, like a chain link fence, you might need to replace the bottom tension wire on an existing chain link fence.
There are a few reasons.
First, because your chain link fence bottom tension wire is close to the bottom of the fence, it could be exposed to more standing water than the rest of your fence. Even galvanized steel will eventually corrode when it stays wet for longer periods of time.
Then there’s stretching. Sometimes, snow, dirt or debris builds up along a chain link fence, putting pressure on the bottom of the fence. Chain link mesh is designed to have a little bit of stretch because of the way it’s woven, but tension wires do not. So, over time, they might weaken and break.
Then there’s mechanical damage. Whether it’s a person trying to go under your fence or an animal, if they push hard enough on your chain link fence bottom tension wire, they might stretch it or break it.
How Often Should You Repair Tension Wire on a Chain Link Fence?
Now that you know how to repair and replace your chain link fence bottom tension wire, the next question is how often you should do it.
The answer is usually “if it ain’t broke, don’t fix it.”
You should walk around your chain link fence line a few times a year, looking for damage, missing components and stretched mesh and wire. If you spot a problem with your bottom wire during that inspection, it’s time to do a repair. However, if your chain link fence bottom tension wire is doing its job, you don’t need to do anything to it.
