How to Install a Wood Fence Post In Concrete

There are several ways to install wood fence posts. Sometimes, they’re driven or pounded directly into the soil. Sometimes they’re installed using brackets or base plates.
However, the most common way for wood fence posts to be installed for privacy fences is to install them in concrete. Here’s what you need to know about the steps to install a wood fence post in concrete.
1. Find Your Fence Line
The first thing you need to do when installing any fence is to find your fence line. Your fence should always be installed on your own property unless your neighbor agrees to have it installed directly on the property line.
Usually, residential properties are marked with property line pegs or survey pegs, and there is probably a site layout plan for your property at the local building department. If you are installing a wood fence on a rural property, a commercial property, or a new building site, however, you might need to hire a surveyor to find your fence line for you.
2. Clear and Level Your Fence Line
You can’t install fences on fence lines that are not clear and level. You need to be able to access the fence line to measure, mark, dig and build the fence.
Clearing and levelling a fence line depends a lot on what is on the fence line. You might have to remove an existing fence, cut back vegetation or remove various natural and man-made items. This needs to be done before you can start any of the other steps, though.
3. Setting Out Fence Lines
Setting out fence lines involves a lot of marking and measuring. Usually, you will start by running a string line on the fence lines between your property survey pegs. If you are installing the fence entirely on your property, the outside face of the fence post will be on that line. If you are installing the fence centered on the property line (with the agreement of your neighbors), the string line will go down the center of your fence.
Once your lines are in place, it’s time to start marking the position of your fence post holes. This is usually done using a bright marking spray paint that you can get at most hardware stores.
Start at the end of each fence line and mark the position of your ends and corners. Next, measure the distance between your posts along each line (usually between 8 and 10 feet for wood fence posts) and mark them with the spray.
4. Locate Underground Services
You might think that clearing and levelling your fence line means you’re ready to start digging. However, there are all kinds of services under the ground that might make installing your fence difficult or even dangerous.
It’s always a good idea to have a locate company come to your site and mark any electrical cables, gas lines and other underground services that you want to avoid when digging. In many places, this is a free service, but there are also paid options if you can’t find one in your area.
Hitting a cable or gas line can be very dangerous or even deadly, and repairs can cost thousands of dollars, so don’t skip this step!
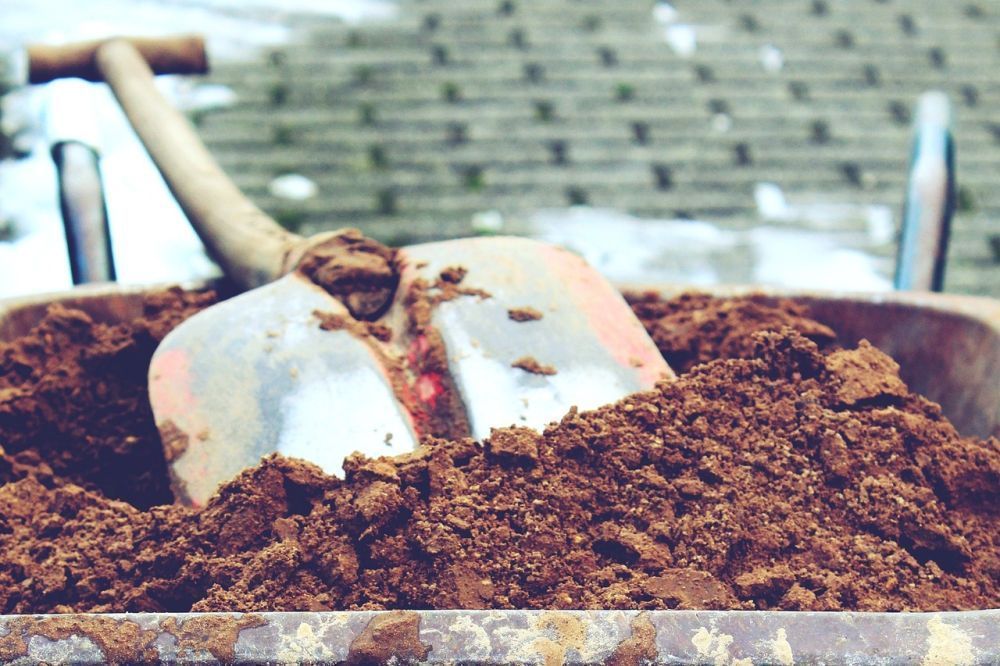
5. Dig Fence Post Holes
The next step in installing wooden fence posts is to dig the fence post holes. There are several ways you can do this, including post-hole diggers, an augur, shovels and so on.
Your wooden fence post holes need to be about three times the diameter of your fence posts, which usually means about a foot or 30 centimeters. If you’re using a 4 x 6” wooden post, you probably want to increase this a little.
As for depth, you usually want to go somewhere between two feet or 24 inches (about 600mm) and four feet or 48 inches (1200mm).
Holes this size will generate a fair amount of dirt, so make sure you have a plan about what you will do with it! Raised beds, veggie gardens and so on are all good ideas.
Make sure that your fence post holes are dug as close to centered on your post hole markings as possible so that you can get your posts installed in the right spot.
6. Drainage Layer
Water is the wood fence post’s biggest enemy. Installing a wood fence post entirely encased in concrete means water that seeps in around the post will be trapped, and this can lead to your fence post rotting inside the concrete.
Placing wooden posts directly on the dirt could also mean that water is absorbed into your fence posts because wood is porous and it acts like a sponge.
The best way around this is to add a drainage layer to the bottom of your fence post holes. Any clean gravel or crushed stone can work, and you probably need about 2 inches or 50mm per hole. This allows water that gets into your post holes to drain away and helps to prevent wood fence posts from absorbing water.
7. Place Your Posts
Once your drainage layer is in place in your wooden fence post holes, the next step in installing wood fence posts is to place the posts in the holes. Try to ensure that the bottom of the post is in the center of the hole and that the post is lined up with your fence line. You can lean the fence posts against the side of the hole once they are in place.
8. Add Concrete
Once your fence posts are placed in their holes, the next step in installing wood fence posts is to add the concrete. There are several options for this. You can use ready-mixed concrete in bags and just add water, mixing by hand in a wheelbarrow so you can transport it along the fence line, or you can use a concrete mixer.
Make sure that you follow the concrete mix instructions exactly, though. Even though it might seem like adding more water will make pouring your concrete easier, too much water will make your concrete too weak.
You will need a second person to help with this step because your wooden fence posts need to be held vertically while the concrete is placed. It’s a good idea to use a level to make sure your wooden fence posts are plumb and level at this stage.
The concrete around your posts should be enough to hold them in place, but if you’re concerned, you can use temporary stays and supports to hold the posts while the concrete dries. Remember that concrete dries fairly quickly, but it continues hardening for many weeks or even months. So, you should have posts that are ready for fencing in a few days.
9. Install Fence and Trim Posts
Once your wooden fence posts are in place, and the concrete has set, it’s time to install the wood fence. Sometimes, you might need to trim the tops of the posts, too, if they are not precisely at the same level. This does happen sometimes and is common practice when installing wood fence posts.
